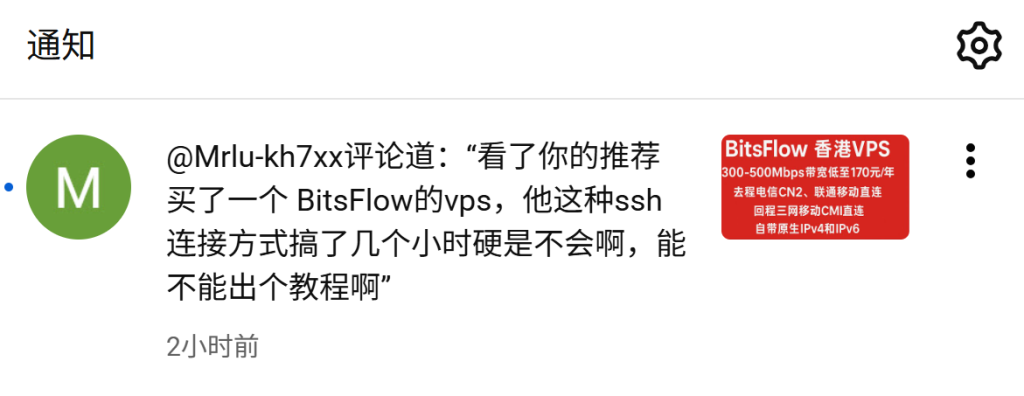
Today, a viewer commented under a video on the 【Overseas VPS Reviews】 YouTube channel saying:
“I bought a BitsFlow VPS after watching your recommendation, but I spent several hours trying to figure out their SSH connection method and still couldn’t get it working. Could you make a tutorial?”
In response, we specifically contacted the official BitsFlowCloud team and obtained the following SSH connection tutorial for everyone’s reference.
By the way, here’s the merchant’s ongoing promotion event: BitsFlowCloud Autumn Sale 2025: Tokyo, Los Angeles, Hong Kong & New York VPS from ¥99/year, 2TB Monthly Traffic @ 2.5Gbps Bandwidth
Our YouTube channel: [https://www.youtube.com/@gwvpsceping](https://www.youtube.com/@gwvpsceping)
Reader feedback screenshot:
Below is the official SSH setup tutorial provided by the owner of BitsFlowCloud:
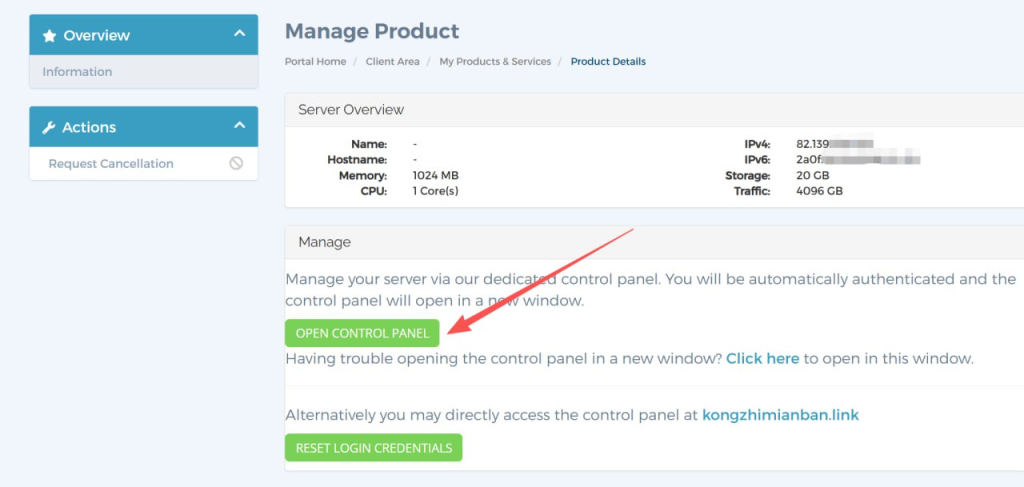
1. After purchasing, go to “Services → My Services” on the website to view your purchased VPS, then click “OPEN CONTROL PANEL”
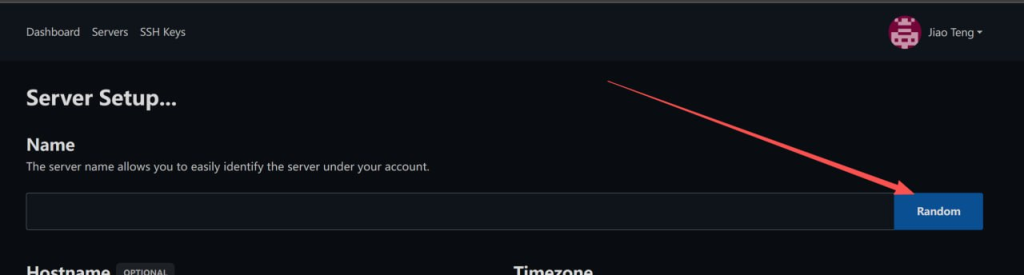
2. Click “Random” to automatically generate a hostname (custom hostnames are not recommended)
3. Hostname and Time Zone Settings
The Hostname field can be left blank (recommended).
For TimeZone, you may choose based on your own region (UTC+8:00 Asia/Shanghai is recommended), or simply leave the default setting unchanged.

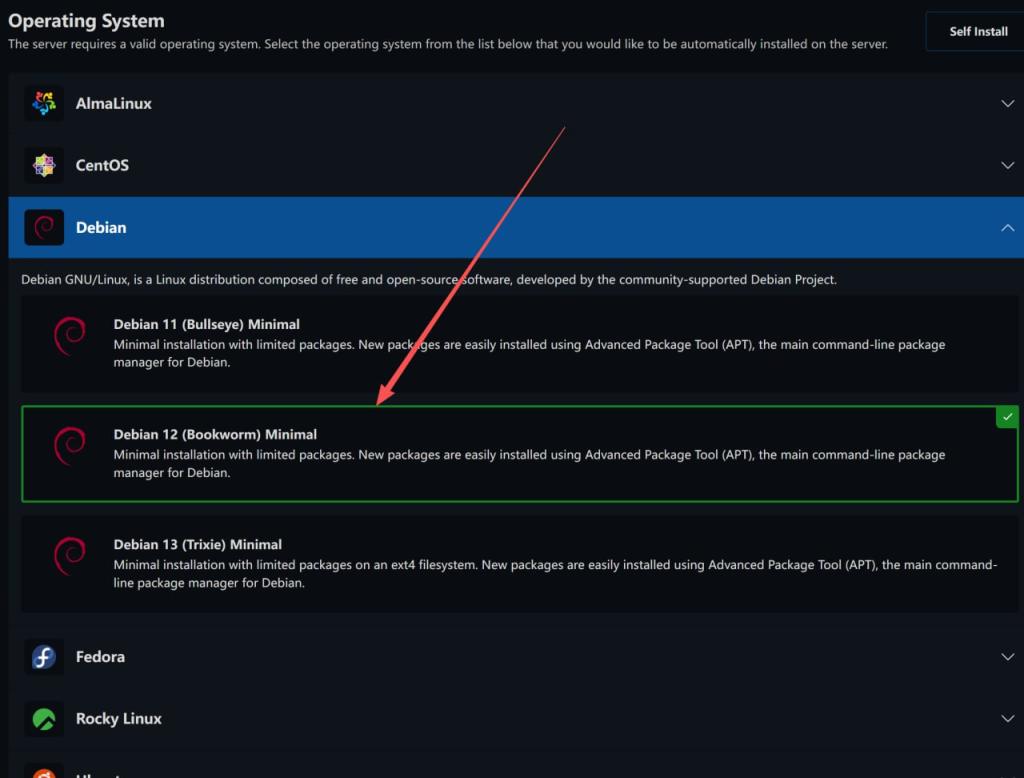
4. Select a System Image
Choose a Linux distribution image below, such as Debian / Debian 12.
5. Configure Swap Space
You may choose the swap size according to your needs.
It is recommended to select 1GB (note that this will consume part of your available disk space).
If you already know how to configure SWAP manually or prefer to customize it later, you can choose None and configure SWAP yourself after the system installation is completed.

6. SSH KEY Configuration
For the SSH KEY section:
- If you are unfamiliar with SSH KEY login, it is recommended to skip this section.
- If you configure an SSH KEY, a download prompt will automatically appear after setup.
- This downloaded file contains the public key required for SSH KEY login, so please keep it safe.
- If lost, you may not be able to connect to your VPS via SSH KEY authentication.
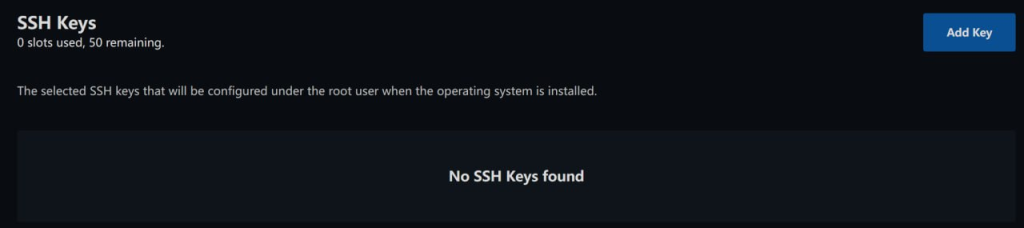
7. Install the Operating System
If you prefer to log in using the root username and password, simply ignore the SSH KEY section and directly click:
“Install ******” (the asterisks represent the Linux distribution you selected in Step 4).
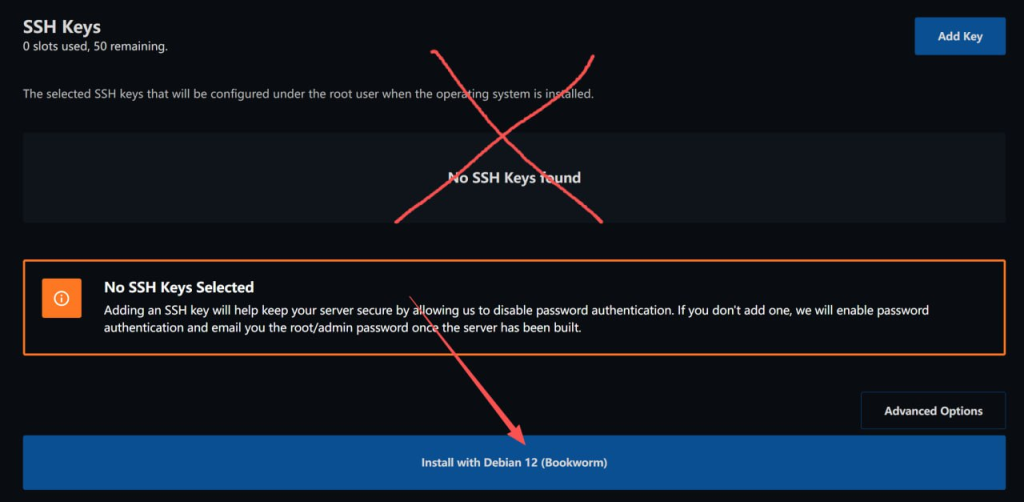
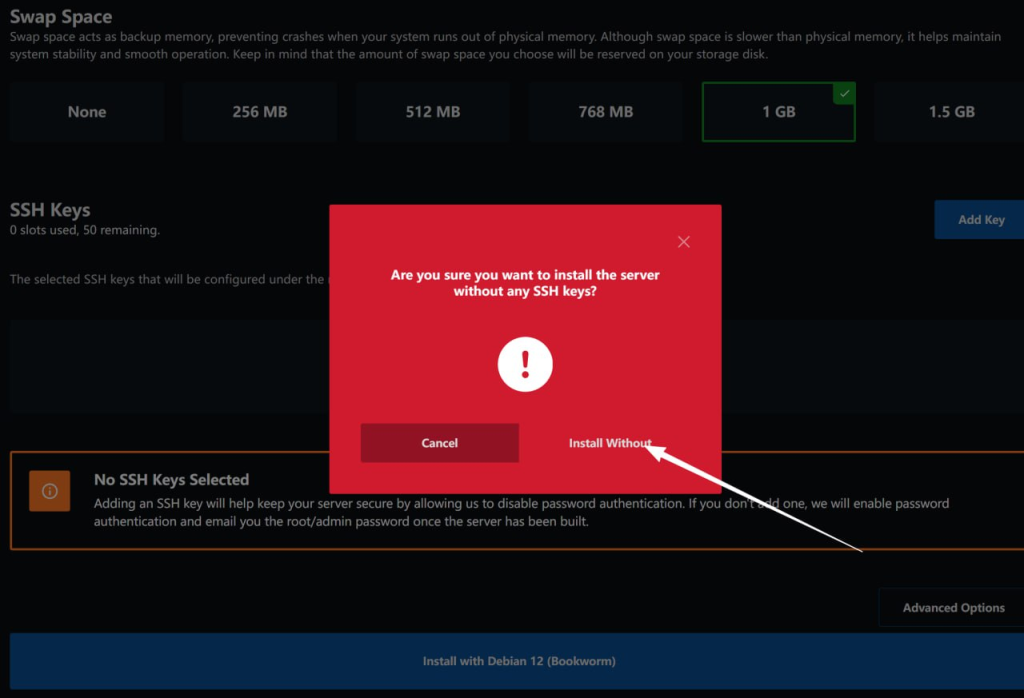
8. Confirm Installation
After clicking install, a confirmation dialog will appear.
Choose “Install Without” to proceed, and the system installation process will begin automatically.
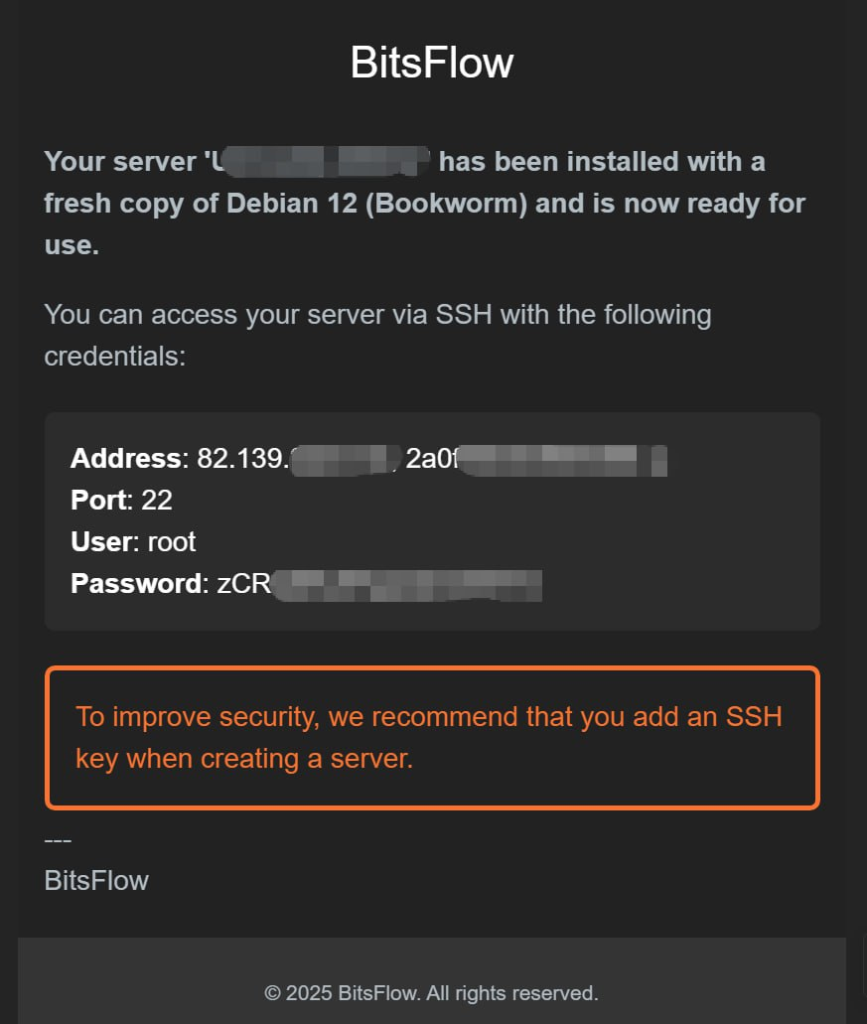
9. Receive Login Information
After waiting for a short while, you will receive an email containing:
- IP Address
- SSH Port
- Root Password
Use the information provided in the email to connect to your VPS via SSH.
Conclusion
By following the steps above, you should now be able to successfully install the operating system and establish an SSH connection to your BitsFlowCloud VPS.
For beginners, the first VPS setup process may feel a little complicated at first. However, by carefully following the official tutorial step by step, you can easily log in to your server and start deploying your own projects.
If you encounter any issues during the connection process, you can also contact the official BitsFlowCloud support team or leave a comment on the 【Overseas VPS Reviews】 YouTube or Bilibili channels. BitsFlowCloud will do its best to help resolve your issues.
We wish everyone a smooth setup experience and hope you enjoy the fast and stable VPS service!
Note: The above tutorial has also been officially published on the BitsFlowCloud website. View it here: VPS Installation Guide.